
Setting up a hosting control panel used to mean an afternoon of config files, a self-signed certificate warning, and a nagging feeling you’d missed something. WebDeck is one command and a few minutes — and it hands you a working panel with a proper padlock from the very first load.
- ⏱ About 10 minutes
- 🖥 Debian · Ubuntu · Rocky · Alma
- 💷 Free to download
Here’s exactly what installing WebDeck looks like, start to finish. No prior experience assumed — if you can copy and paste one line and follow a short wizard, you can do this.
Before you start
You need one thing: a fresh server. WebDeck sets up the whole stack itself — web server, database, mail, DNS, PHP and SSL — so it wants a clean box it can own, not one that’s already running things.
- A fresh Debian, Ubuntu, Rocky or Alma server
- 1 vCPU, 1 GB RAM and 10 GB disk is enough to start
- Root access and a public IP address
Step 1 — Run the installer
Log in to your fresh server over SSH and paste in one command. The installer works out which Linux you’re on and does the right thing.
Then go and make a cup of tea. It takes a few minutes because it’s installing a full hosting stack — you’ll see each part tick off as it goes.
Step 2 — Open your panel
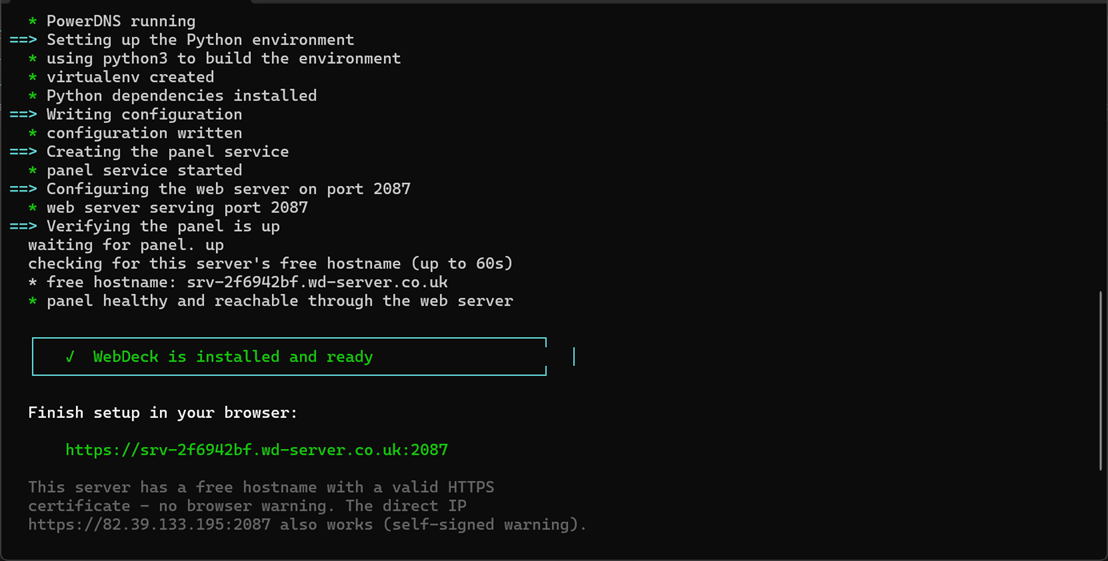
When it finishes, the installer prints a web address — your server’s free hostname, something like:
Open it in your browser. Here’s the nice bit: it loads with a trusted padlock straight away. No “your connection is not private” warning to click through — WebDeck fetches a real certificate for that hostname in the first minute, so a fresh install looks properly secure from the word go.
Step 3 — Follow the six-step wizard
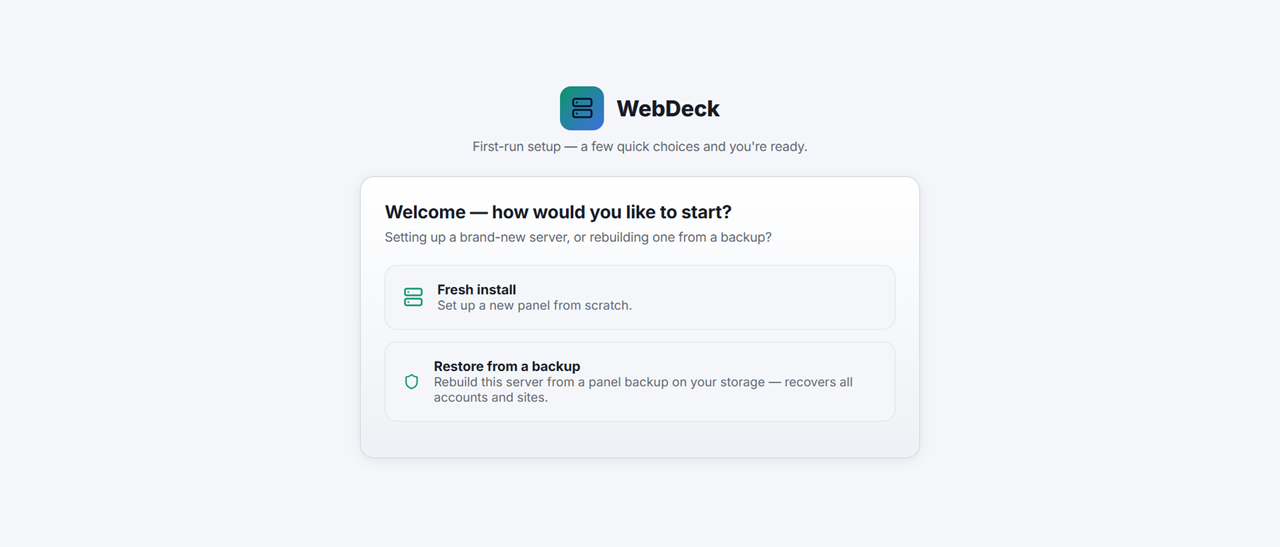
The first time you open the panel, a short setup wizard walks you through the essentials. There are no config files to edit — you just answer a few questions and click through.
Licence
Hosting elsewhere? Click Start a 14-day free trial to unlock everything with no key. VM6 Networks clients are licensed automatically and skip this step.
Admin account
Your username, email and a strong password. This account runs the whole server, so pick a good password.
Nameservers
The ns1 and ns2 names your DNS will use. You’ll
point these at your server later with your domain registrar — the panel shows
you exactly how.
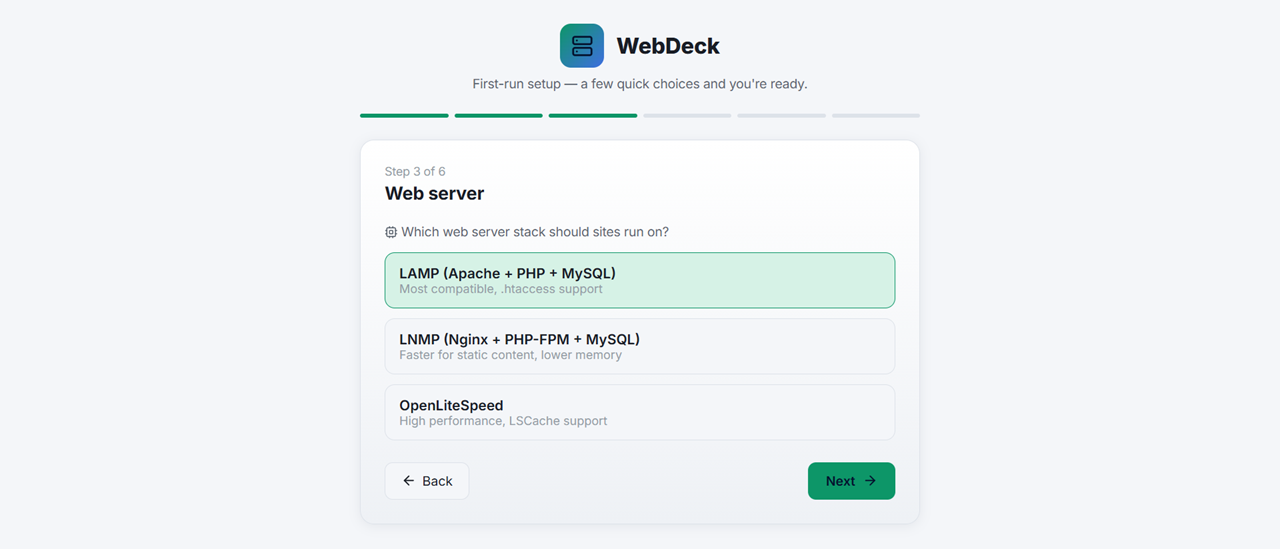
Web server
Apache, nginx or OpenLiteSpeed — your choice. You can switch later without rebuilding your sites, so don’t agonise over it.
Set up the mail server, or skip it if you’re using an external provider like Google Workspace.
Done
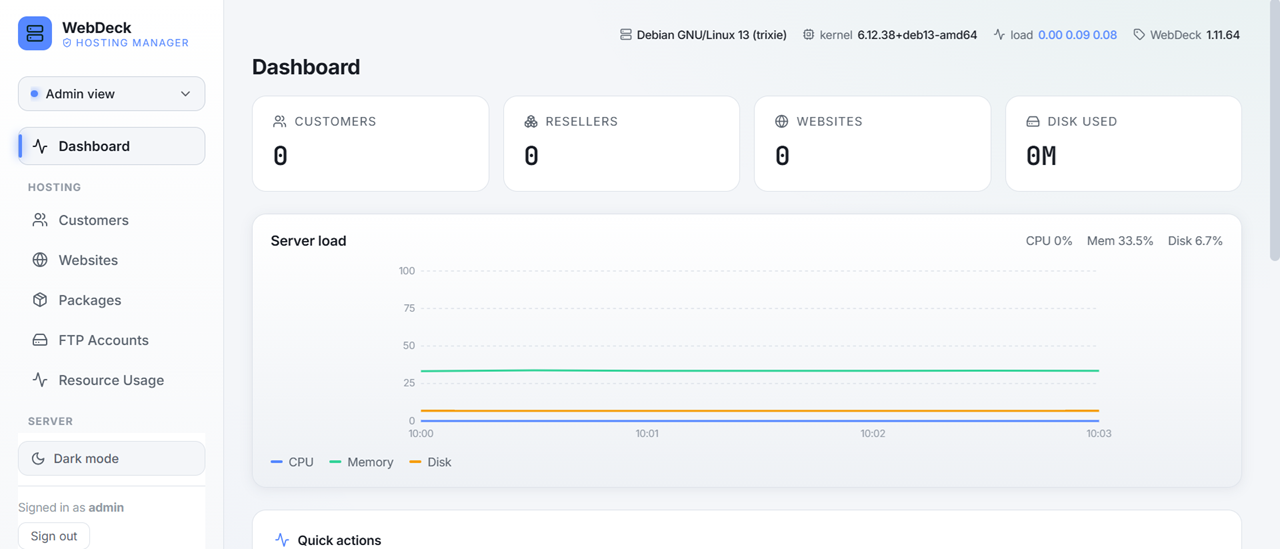
That’s it — you land on the dashboard, with your server’s health, and everything ready to use.
Step 4 — You’re in
You now have a full hosting panel. Add your first website and WebDeck creates everything it needs in one go — the virtual host, the DNS zone, a free SSL certificate and a PHP pool. From here you can host sites, set up email, manage databases, schedule backups, and install WordPress and dozens of other apps in a click.
What you get out of the box
- Trusted HTTPS from minute one, on a free hostname
- Websites with SSL, DNS and PHP set up in one step
- Email with DKIM, SPF and DMARC configured for you
- Backups you can actually restore — including full-server recovery
- 38 one-click apps, WordPress included
- It fixes itself — a self-healing engine repairs configs and renews certificates before you notice
Common questions
Is it really free?
Yes. WebDeck is free to download, and free forever for VM6 Networks clients. Host elsewhere and you get a 14-day free trial with every feature unlocked — no card required to start.
Can I install it on my existing server?
Use a fresh one. WebDeck configures Apache or nginx, Postfix, Dovecot, MariaDB and PowerDNS — on a server that’s already running those, it’ll conflict. A clean box is the way.
What if I don’t like it?
Nothing’s locked in. WebDeck sets up standard, open software, so your sites, databases and mail keep running the same way with or without it. Wipe the test box and you’ve lost nothing but a cup of tea’s worth of time.
Which Linux should I use?
Any of Debian, Ubuntu, Rocky or Alma. The installer detects your distribution and installs the right packages. If you’ve no preference, Debian or Ubuntu are the most common.
I’m coming from cPanel — do I have to rebuild everything?
No. The built-in cPanel importer reads standard cPanel backups and recreates the account — websites, databases, email, DNS and files. You can import one account or a whole server.
Try it on a spare box tonight
One command, a few minutes, and you’ll know whether it’s for you.
Hi, this is a comment.
To get started with moderating, editing, and deleting comments, please visit the Comments screen in the dashboard.
Commenter avatars come from Gravatar.